Bringing home a new masterpiece from your young artist is always a proud moment. However, as those colorful drawings and crafts start to pile up, managing the growing collection can become challenging. Keeping kids’ art organized not only helps maintain a clutter-free home but also allows you to cherish their creativity over the years. Here are practical and creative tips to help you keep your child’s artwork organized while celebrating their creativity.
Why Organize Kids' Artwork?
Kids often create art to express themselves, learn, and play. However, without a plan, art supplies and finished projects can quickly clutter your space. Organizing artwork helps you:
– Preserve memories in an orderly way
– Make it easy to revisit special pieces
– Teach your kids organizational skills
– Keep your home neat and welcoming
Getting Started: Sorting and Selecting
Before jumping into storage solutions, begin by sorting through the existing pile:
- **Gather all artwork in one place.** This gives you a clear idea of what you have.
- **Involve your child.** Ask them to pick their favorite pieces and talk about why they like them.
- **Decide what to keep.** Save the most meaningful, unique, or developmentally significant art.
- **Recycle or discard others.** It’s okay to let go of some pieces to avoid overwhelming storage needs.
Storage Solutions for Kids’ Art
Create an Art Binder or Portfolio
Using a large binder or a portfolio folder is a simple way to keep flat artwork organized.
– Use plastic sheet protectors to slide in drawings.
– Label each section by date or theme.
– Encourage your child to help update it regularly.
Digital Archives: Scan or Photograph Artwork
Digitizing your child’s art saves space and gives you easy access to the collection.
– Use a scanner or a smartphone to capture images.
– Organize files by date or project name on your computer.
– Consider creating photo books or slideshows as gifts or keepsakes.
Dedicated Art Storage Boxes
For three-dimensional crafts or larger projects:
– Use stackable plastic bins or decorative boxes.
– Label each box with the child’s name and year.
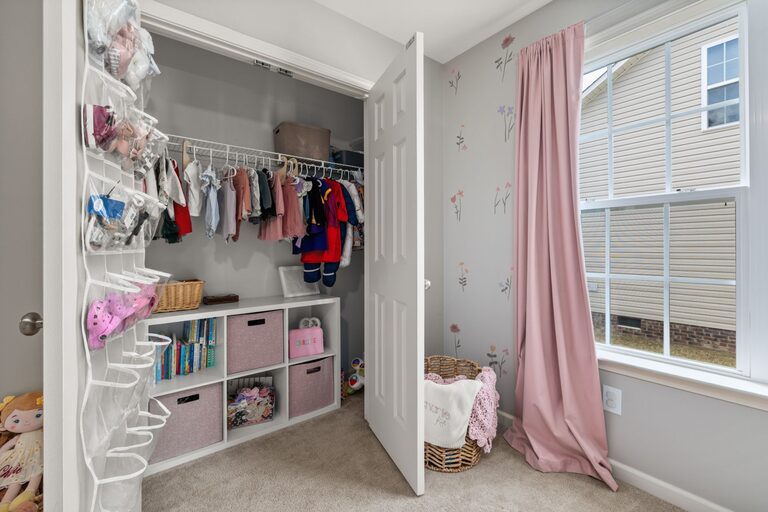
– Store boxes in a closet, under the bed, or on shelves.
Display Areas: Showcase and Rotate
Showcasing your child’s art encourages their creativity and boosts confidence.
– Use corkboards, magnetic strips, or clipboards to create rotating galleries.
– Frame selected pieces and hang them in common areas.
– Set up a wire with clips or a clothesline in their room to hang new creations.
Tips for Maintaining Organization
Set Regular Review Times
Schedule a monthly or seasonal check-in to sort new artwork and update storage.
Encourage Your Child’s Participation
Make organizing an enjoyable activity involving sorting, labeling, and displaying.
Combine Art with Stories
Ask kids to describe their artwork and write down their thoughts to preserve memories alongside the art.
Use Labels and Dates
Labeling artwork with dates and descriptions helps track progress and makes looking back more meaningful.
Creative Ideas Beyond Storage
– Create personalized calendars featuring scanned artwork.
– Turn art into greeting cards or wrapping paper.
– Collaborate with your child to make a scrapbook or a yearly art book.
Final Thought
Organizing kids’ artwork doesn’t have to be overwhelming. With simple strategies and a little creativity, you can create a system that honors your child’s imagination while keeping your home tidy. Remember, the goal is to celebrate each masterpiece and make organizing a fun, shared experience with your child. Happy organizing!